
Welcome! This manual guides you through utilizing your Cuisinart toaster oven‚ offering versatile cooking with features like baking‚ broiling‚ and convection․
Understanding the Model
Your Cuisinart toaster oven is designed for countertop convenience‚ offering a compact alternative to a full-sized oven․ Models like the TOB-135N and TOB-60N feature brushed stainless steel construction for durability and style․ The TOB-40N is another popular choice‚ boasting 1800 watts of power․
These ovens typically accommodate up to six slices of bread‚ and include essential accessories like a baking pan‚ wire rack‚ and drip tray for diverse cooking needs․ A limited 3-year warranty provides peace of mind‚ covering potential defects in materials or workmanship – details are in the user manual․
Key Features and Benefits
Cuisinart toaster ovens deliver exceptional versatility․ Enjoy functions like toasting‚ baking‚ and broiling‚ with some models adding convection for faster‚ more even cooking․ The non-stick interior simplifies cleanup‚ while consistent toast control ensures perfect results every time․
Benefit from a spacious interior accommodating various dish sizes․ Included accessories expand cooking options‚ and the slide-out crumb tray makes maintenance easy․ Being BPA-free adds a health-conscious element‚ and the compact design saves valuable counter space․
Components and Parts Identification
Familiarize yourself with your Cuisinart toaster oven’s parts: the exterior‚ control panel‚ door‚ interior heating elements‚ and non-stick coating for optimal use․
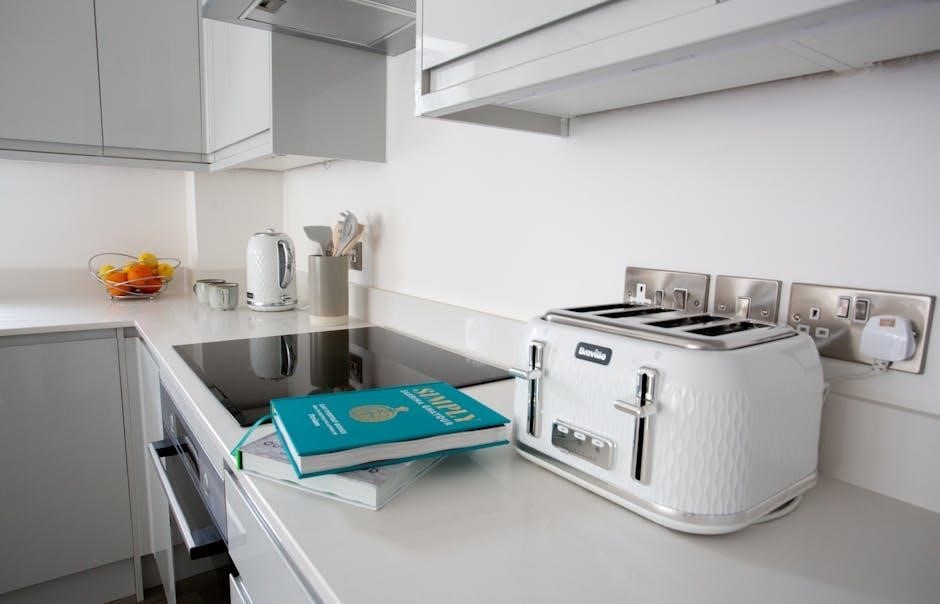
Included Accessories (Baking Pan‚ Wire Rack‚ Drip Tray)
Your Cuisinart toaster oven arrives with several helpful accessories to expand your cooking capabilities․ A durable baking pan allows for even heating when preparing cookies‚ cakes‚ or casseroles․ The included wire rack is perfect for broiling meats and vegetables‚ ensuring crisp results․
Don’t forget the convenient drip tray! This essential component catches grease and crumbs‚ simplifying cleanup and maintaining a tidy oven interior․ These accessories‚ along with a recipe book‚ enhance your cooking experience‚ offering versatility and ease of use․ Refer to the manual for specific accessory usage guidelines․
Exterior Features (Control Panel‚ Door)
The Cuisinart toaster oven boasts a sleek exterior designed for both style and functionality․ The control panel provides intuitive access to various functions – toast‚ bake‚ broil‚ and convection – with easy-to-adjust temperature and time settings․ Its brushed stainless steel finish adds a modern touch to any kitchen countertop․
The door features a durable construction and allows for clear visibility of the cooking process․ It securely closes to maintain consistent temperatures during operation․ Familiarize yourself with the control panel layout for optimal use and efficient cooking․
Interior Features (Heating Elements‚ Non-Stick Coating)
Inside your Cuisinart toaster oven‚ strategically placed heating elements ensure even cooking and browning․ These elements provide consistent heat distribution for optimal results whether you’re toasting‚ baking‚ or broiling․ The spacious interior is coated with a durable non-stick surface‚ simplifying cleanup and preventing food from sticking․
This non-stick coating minimizes the need for excessive scrubbing‚ making maintenance a breeze․ The interior’s design maximizes cooking space while maintaining efficient heat circulation for perfectly cooked meals every time․
Operating Instructions
Begin by plugging in your Cuisinart toaster oven․ Initial setup involves selecting your desired function and setting the appropriate temperature and cooking time․
Initial Setup and First Use
Before first use‚ remove all packaging materials and accessories from the oven․ Wipe the interior with a damp cloth and dry thoroughly․ Place the wire rack and baking pan inside to familiarize yourself with their placement․
Plug the toaster oven into a grounded electrical outlet․ It’s recommended to run the oven empty for approximately 15-20 minutes on the ‘Bake’ setting at 350°F (175°C) to burn off any manufacturing residue․
A slight odor may be present during this initial burn-off – this is normal and will dissipate with subsequent use․ Ensure adequate ventilation during this process․ Your Cuisinart is now ready for cooking!
Function Selection (Toast‚ Bake‚ Broil‚ Convection)
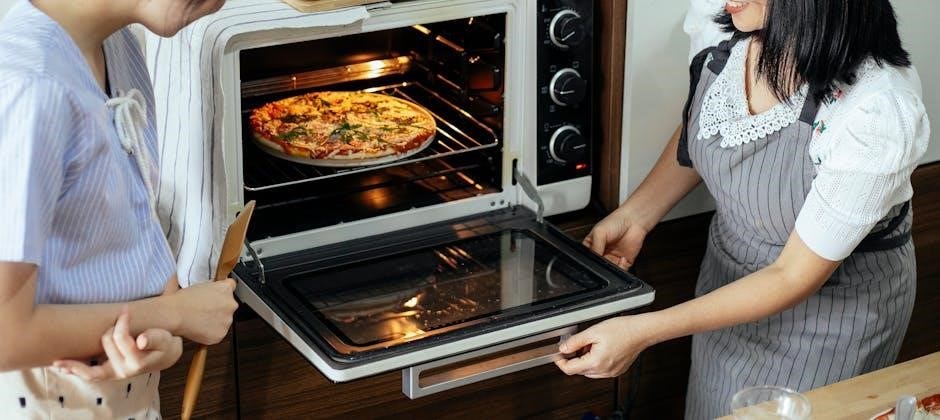
Your Cuisinart toaster oven offers versatile cooking options․ Select the desired function using the function dial: ‘Toast’ for evenly browned bread and pastries‚ ‘Bake’ for cakes‚ cookies‚ and casseroles․ ‘Broil’ provides direct‚ intense heat for meats and vegetables․
‘Convection’ utilizes a fan to circulate hot air‚ ensuring faster and more even cooking – ideal for roasting and baking․ Remember to adjust cooking times accordingly when using convection․ The control panel clearly indicates each function for easy operation․
Temperature and Time Settings
Adjusting temperature is crucial for optimal results․ Use the temperature dial to select the desired heat‚ ranging from warm to 450°F (232°C)․ For precise timing‚ utilize the timer dial‚ setting it for the required cooking duration․ The auto-shutoff feature will turn the oven off when the timer reaches zero․
Always refer to recipes for recommended temperature and time guidelines․ Consistent toast control ensures even browning‚ while careful monitoring prevents overcooking․ Experiment to find your preferred settings!
Using Specific Functions
Explore versatility! This section details how to expertly toast bread‚ bake delicious treats‚ and broil meats and vegetables within your Cuisinart oven․
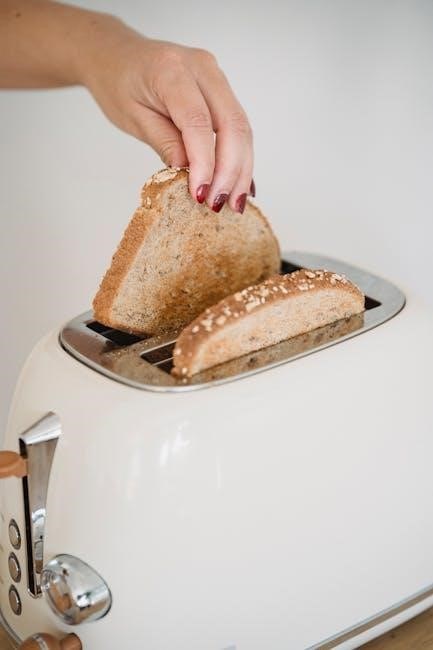
Toasting Bread and Pastries
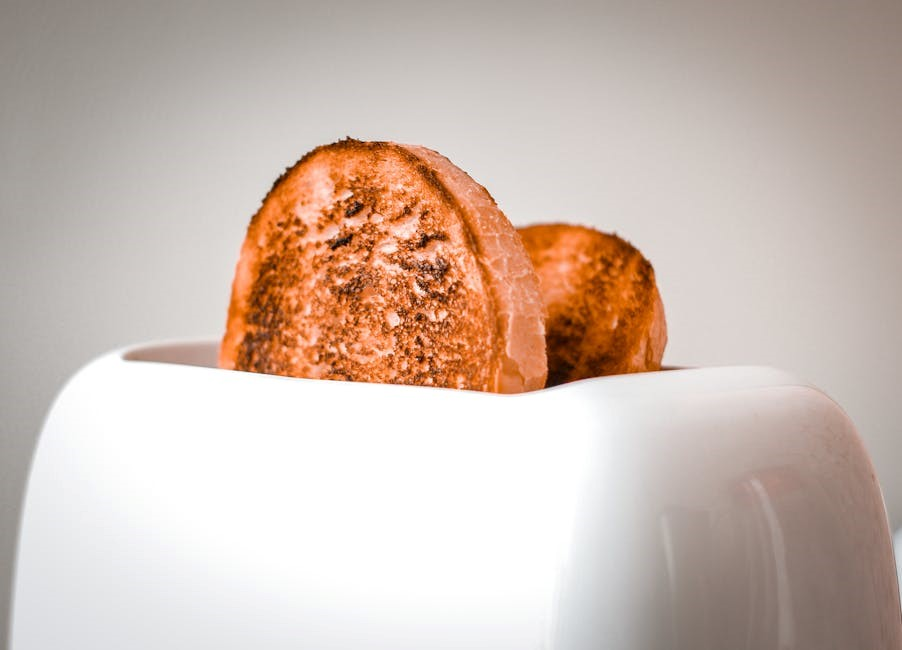
Achieving Perfect Toast: Begin by placing your bread or pastry directly on the wire rack․ Select the ‘Toast’ function on the control panel․ Adjust the shade control dial to your desired level of browning – lighter shades for delicate pastries‚ darker for robust breads․
For even toasting‚ ensure slices are of uniform thickness․ Monitor the toasting process; the oven will automatically pop up when complete․ Remember‚ toasting times may vary based on bread type and initial temperature․ Enjoy consistently golden-brown results with your Cuisinart!
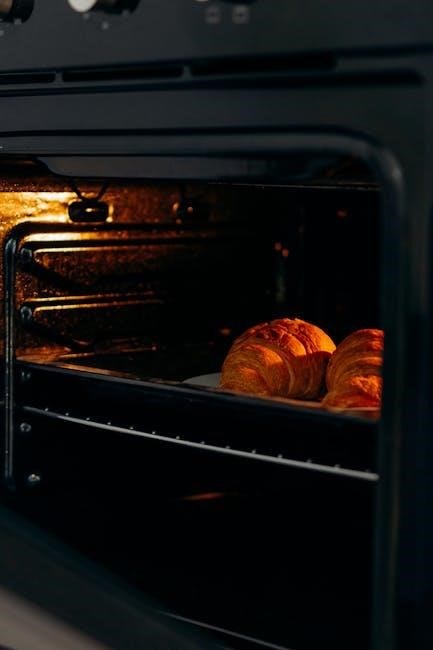
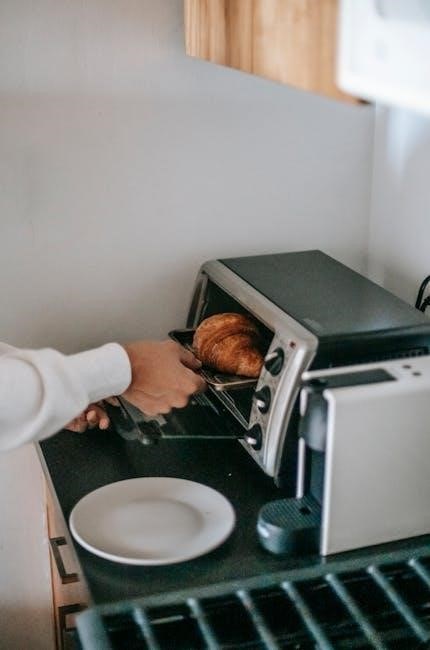
Baking Cookies‚ Cakes‚ and Casseroles
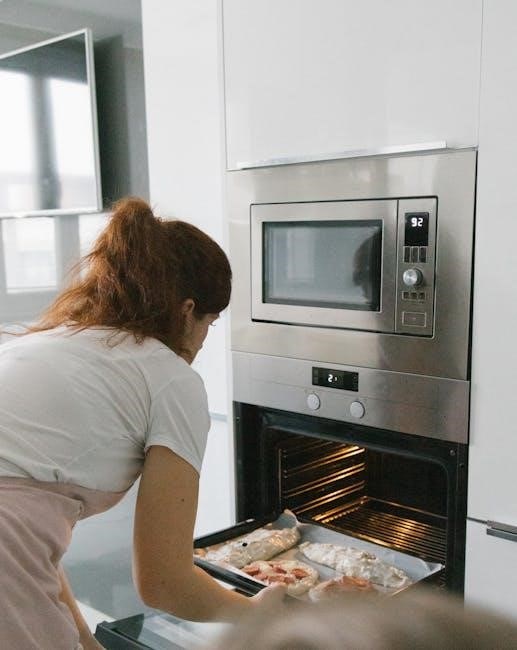
Delicious Baked Goods: Utilize the ‘Bake’ function and the included baking pan for cookies‚ cakes‚ and casseroles․ Preheat the oven to the recipe’s specified temperature․ Place your batter or prepared dish onto the baking pan‚ ensuring it fits comfortably within the interior․
Adjust the temperature and timer accordingly․ For even baking‚ rotate the pan halfway through the cooking time․ Monitor closely to prevent over-browning․ Your Cuisinart toaster oven delivers consistent heat for delightful homemade treats!
Broiling Meats and Vegetables
Perfectly Broiled Dishes: Select the ‘Broil’ function for quick and efficient cooking․ Position the wire rack appropriately – closer for searing‚ further for slower cooking․ Place your meat or vegetables directly on the rack‚ ensuring adequate space around the food for heat circulation․
Monitor closely‚ as broiling happens rapidly! Flip food halfway through for even cooking․ Avoid overcrowding the rack․ The high heat of the broiler creates a delicious‚ browned exterior while keeping the inside tender and juicy․
Care and Maintenance
Keep it Clean: Regular cleaning ensures optimal performance and longevity․ Always unplug the toaster oven and allow it to cool completely before cleaning․
Cleaning the Interior and Exterior
Interior Cleaning: Before cleaning‚ ensure the toaster oven is unplugged and completely cool․ Wipe the interior with a damp cloth and mild soapy water․ Avoid abrasive cleaners‚ as they can damage the non-stick coating․ For stubborn residue‚ a paste of baking soda and water can be gently applied․
Exterior Cleaning: The exterior should be cleaned with a damp cloth and mild detergent․ Polish with a soft cloth to maintain its shine․ Never immerse the toaster oven in water or any other liquid․ Ensure no water enters the heating elements or control panel during cleaning․
Slide-Out Crumb Tray Maintenance
Regular Cleaning is Key: To maintain optimal performance and prevent fire hazards‚ regularly empty the slide-out crumb tray․ Allow the toaster oven to cool completely before removing the tray․ Gently slide it out and dispose of the collected crumbs․
Washing the Tray: The crumb tray is typically dishwasher-safe‚ but hand washing with warm‚ soapy water is also effective․ Ensure the tray is completely dry before reinserting it into the toaster oven․ Frequent cleaning prevents buildup and ensures efficient operation․
Proper Storage Instructions
Cool Down Completely: Before storing your Cuisinart toaster oven‚ always ensure it is completely cool to the touch․ Disconnect the power cord from the outlet to prevent accidental activation․ Clean the interior and exterior surfaces as outlined in the care and maintenance section․
Safe and Dry Location: Store the toaster oven in a cool‚ dry place‚ away from direct sunlight and moisture․ Avoid storing it near flammable materials․ If possible‚ use the original packaging for protection during storage․
Troubleshooting Common Issues
Addressing Problems: This section provides solutions for typical issues like heating problems‚ uneven toasting‚ and understanding any error codes displayed․
Toaster Oven Not Heating
Problem: If your Cuisinart toaster oven isn’t heating‚ first ensure it’s properly plugged into a functioning outlet․ Verify the control panel is set to a cooking function – Toast‚ Bake‚ or Broil – and that a temperature and time have been selected․
Solutions: Check if the heating elements are glowing; if not‚ consult the warranty information for service․ Refer to the user manual for troubleshooting steps․ A reset might be necessary․ If the issue persists‚ do not attempt repairs yourself; contact Cuisinart customer support for assistance‚ as attempting self-repair could void the limited 3-year warranty․
Uneven Toasting
Problem: Experiencing uneven toasting is a common issue․ This can occur due to bread placement or variations in bread thickness․ Ensure items are centered on the wire rack and aren’t overcrowded‚ allowing for proper heat circulation․
Solutions: Rotate the bread or food halfway through the toasting cycle for more consistent results․ Utilize the “Consistent Toast Control” feature‚ if available on your model․ If unevenness continues‚ check the heating elements for any obstructions․ Refer to the manual for specific guidance related to your Cuisinart model․
Error Codes and Their Meanings
Understanding Alerts: Your Cuisinart toaster oven may display error codes to indicate a problem․ While specific codes vary by model‚ consult your user manual for a comprehensive list․ Common issues might relate to temperature sensor malfunctions or internal component failures․
Troubleshooting: If an error code appears‚ first try resetting the oven by unplugging it for several minutes․ If the code persists‚ document it and contact Cuisinart customer support for assistance‚ referencing your model number and the displayed code for efficient resolution․

Warranty Information
Limited Coverage: Cuisinart offers a 3-year limited warranty against defects in materials and workmanship; see the included manual for full details․
Limited 3-Year Warranty Details
Coverage: This warranty covers defects in materials and workmanship under normal household use for three years from the date of original purchase․ It does not cover damage from misuse‚ accidents‚ or unauthorized repairs․
What’s Covered: Cuisinart will‚ at its option‚ repair or replace a defective unit․ Shipping costs to Cuisinart are the responsibility of the consumer․ Proof of purchase is required․
Exclusions: This warranty doesn’t apply to cosmetic damage or normal wear and tear․ Any attempt to repair the unit yourself will void the warranty․ Refer to the complete warranty documentation within your user manual for comprehensive information․
How to Claim Warranty Service
Initiating a Claim: To obtain warranty service‚ first contact Cuisinart’s customer service department via phone or their website․ Have your model number and proof of purchase readily available․ They will provide troubleshooting steps and‚ if necessary‚ a return authorization number․
Returning the Unit: Carefully package the toaster oven‚ including all original accessories‚ and ship it to the authorized Cuisinart service center․ Ensure the return authorization number is clearly visible on the package․
Processing Time: Allow several weeks for repair or replacement․ Cuisinart will cover return shipping of the repaired or replacement unit․
Safety Precautions
Important: Always unplug the toaster oven before cleaning․ Never immerse the appliance in water‚ and exercise caution when handling hot surfaces․
Important Safety Warnings
Read Carefully: To prevent fire‚ electrical shock‚ and personal injury‚ always follow these safety guidelines․ Do not operate the appliance with a damaged cord or plug․ Avoid using extension cords․ Ensure proper ventilation during operation‚ and never place flammable materials near the toaster oven․
Supervise children when the appliance is in use․ The exterior surfaces become hot; use oven mitts․ Do not immerse the appliance in water or other liquids․ Unplug when not in use and before cleaning․ Never attempt to repair the toaster oven yourself; contact qualified service personnel․
Electrical Safety Guidelines
Grounding Required: This Cuisinart toaster oven must be grounded for safety․ Do not modify the plug․ If a grounding type outlet isn’t available‚ an adapter should only be used if the outlet box is properly grounded․ Avoid running the power cord under rugs or near heat sources․
Never operate the appliance with a damaged cord or plug‚ or after it malfunctions․ Disconnect from the power outlet before cleaning or performing maintenance․ Ensure the voltage matches the appliance’s rating․ Contact a qualified electrician for any electrical concerns․